Perma-Patch™
The Perma-Patch Trenchless Pipelining System is designed for 4″-6″ sewer pipe diameters.

Products Proudly Made In The U.S.A.
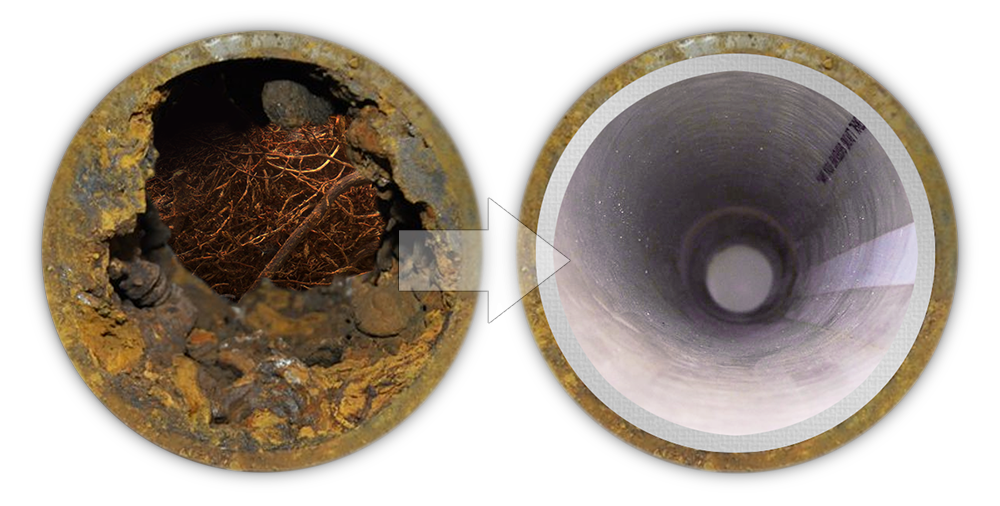
Save your sewer lines, save your slab, save your road, save your property. Reline your sewer today with Perma-Liner™
Perma-Lateral™
REHABILITATES PIPES FROM:
4" TO 6"
IN DIAMETER
CONTINUOUS LENGTHS UP TO:
4" TO 24" LINING
2-4 FT +

PERMA-PATCH IS DESIGNED FOR 4" TO 6" DIAMETER PIPELINES WITH CRACKS, HOLES, AND SEPARATION IN JOINTS.
The “Local” Sectional Repair System
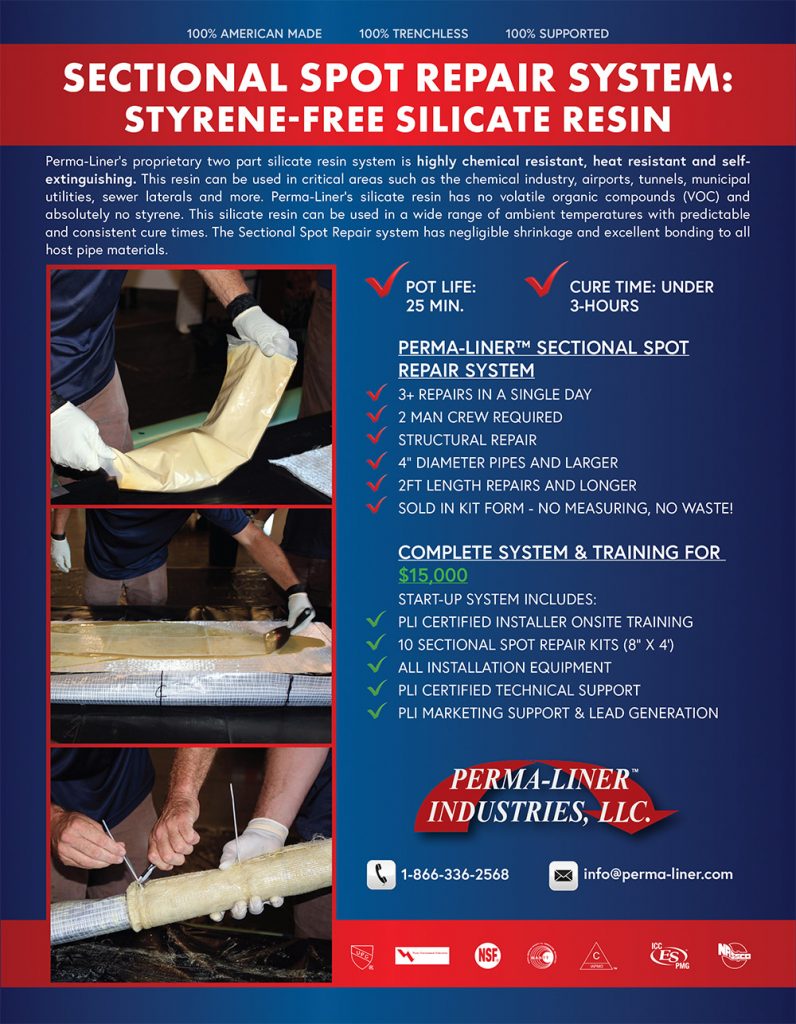
Perma-Liner™ has developed a proven method to rehabilitate a 2-foot or 4-foot pipeline section utilizing a “local” sectional repair system. The Perma-Patch system is part of the latest development in rehabilitation products from Perma-Liner™ Industries. The Perma-Patch system uses a fiberglass mat with 100% solids epoxy resins creating a structural repair with a minimum lifespan of 50 years!
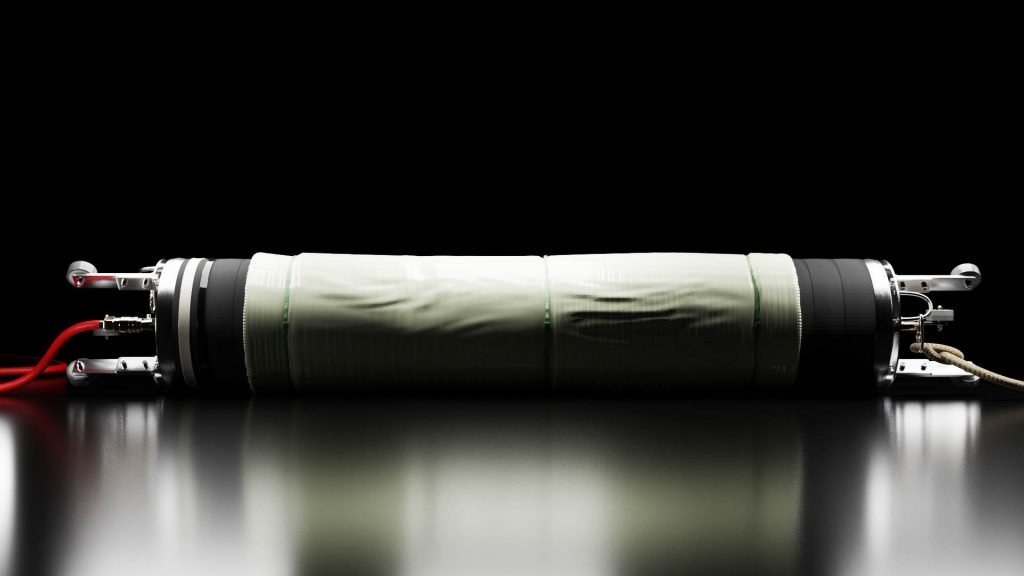
Perma-Patch is designed for 3″ to 24″ diameter pipelines with cracks, holes, and separation in joints. The Perma-Patch repair is inserted into the damaged pipe using an inflatable bladder, push rod, or pull cable. The Perma-Patch repair is centered over the damaged pipe section and pressed tight against the host pipe area creating a structural new pipe.
Styrene-Free Silicate Resin
Perma-Liner’s proprietary two-part silicate resin system is highly chemical resistant, heat resistant and self-extinguishing.
This resin can be used in critical areas such as the chemical industry, airports, tunnels, municipal utilities, sewer laterals and more. Perma-Liner’s silicate resin has no volatile organic compounds (VOC) and absolutely no styrene. This silicate resin can be used in a wide range of ambient temperatures with predictable and consistent cure times. The Sectional Spot Repair system has negligible shrinkage and excellent bonding to all host pipe materials.

Proudly Made In The U.S.A.



This patented sewer pipe repair system is ASTM F2561 Compliant.
Preparation of Materials
CLEANING THE HOST PIPE: Always clean the pipeline free of debris and root infiltration before installing the Perma-Patch™.
PIPE INSPECTION: Push the camera head to the center of the point of repair and attach a piece of tape to the cable at the entry point (pipe edge). This will serve as your measurement to the center of repair. Remove the camera from the pipeline and lay on a flat surface. Measure from the leading edge of the camera head to the tape mark on the camera push cable. This is the measurement needed for the installation.
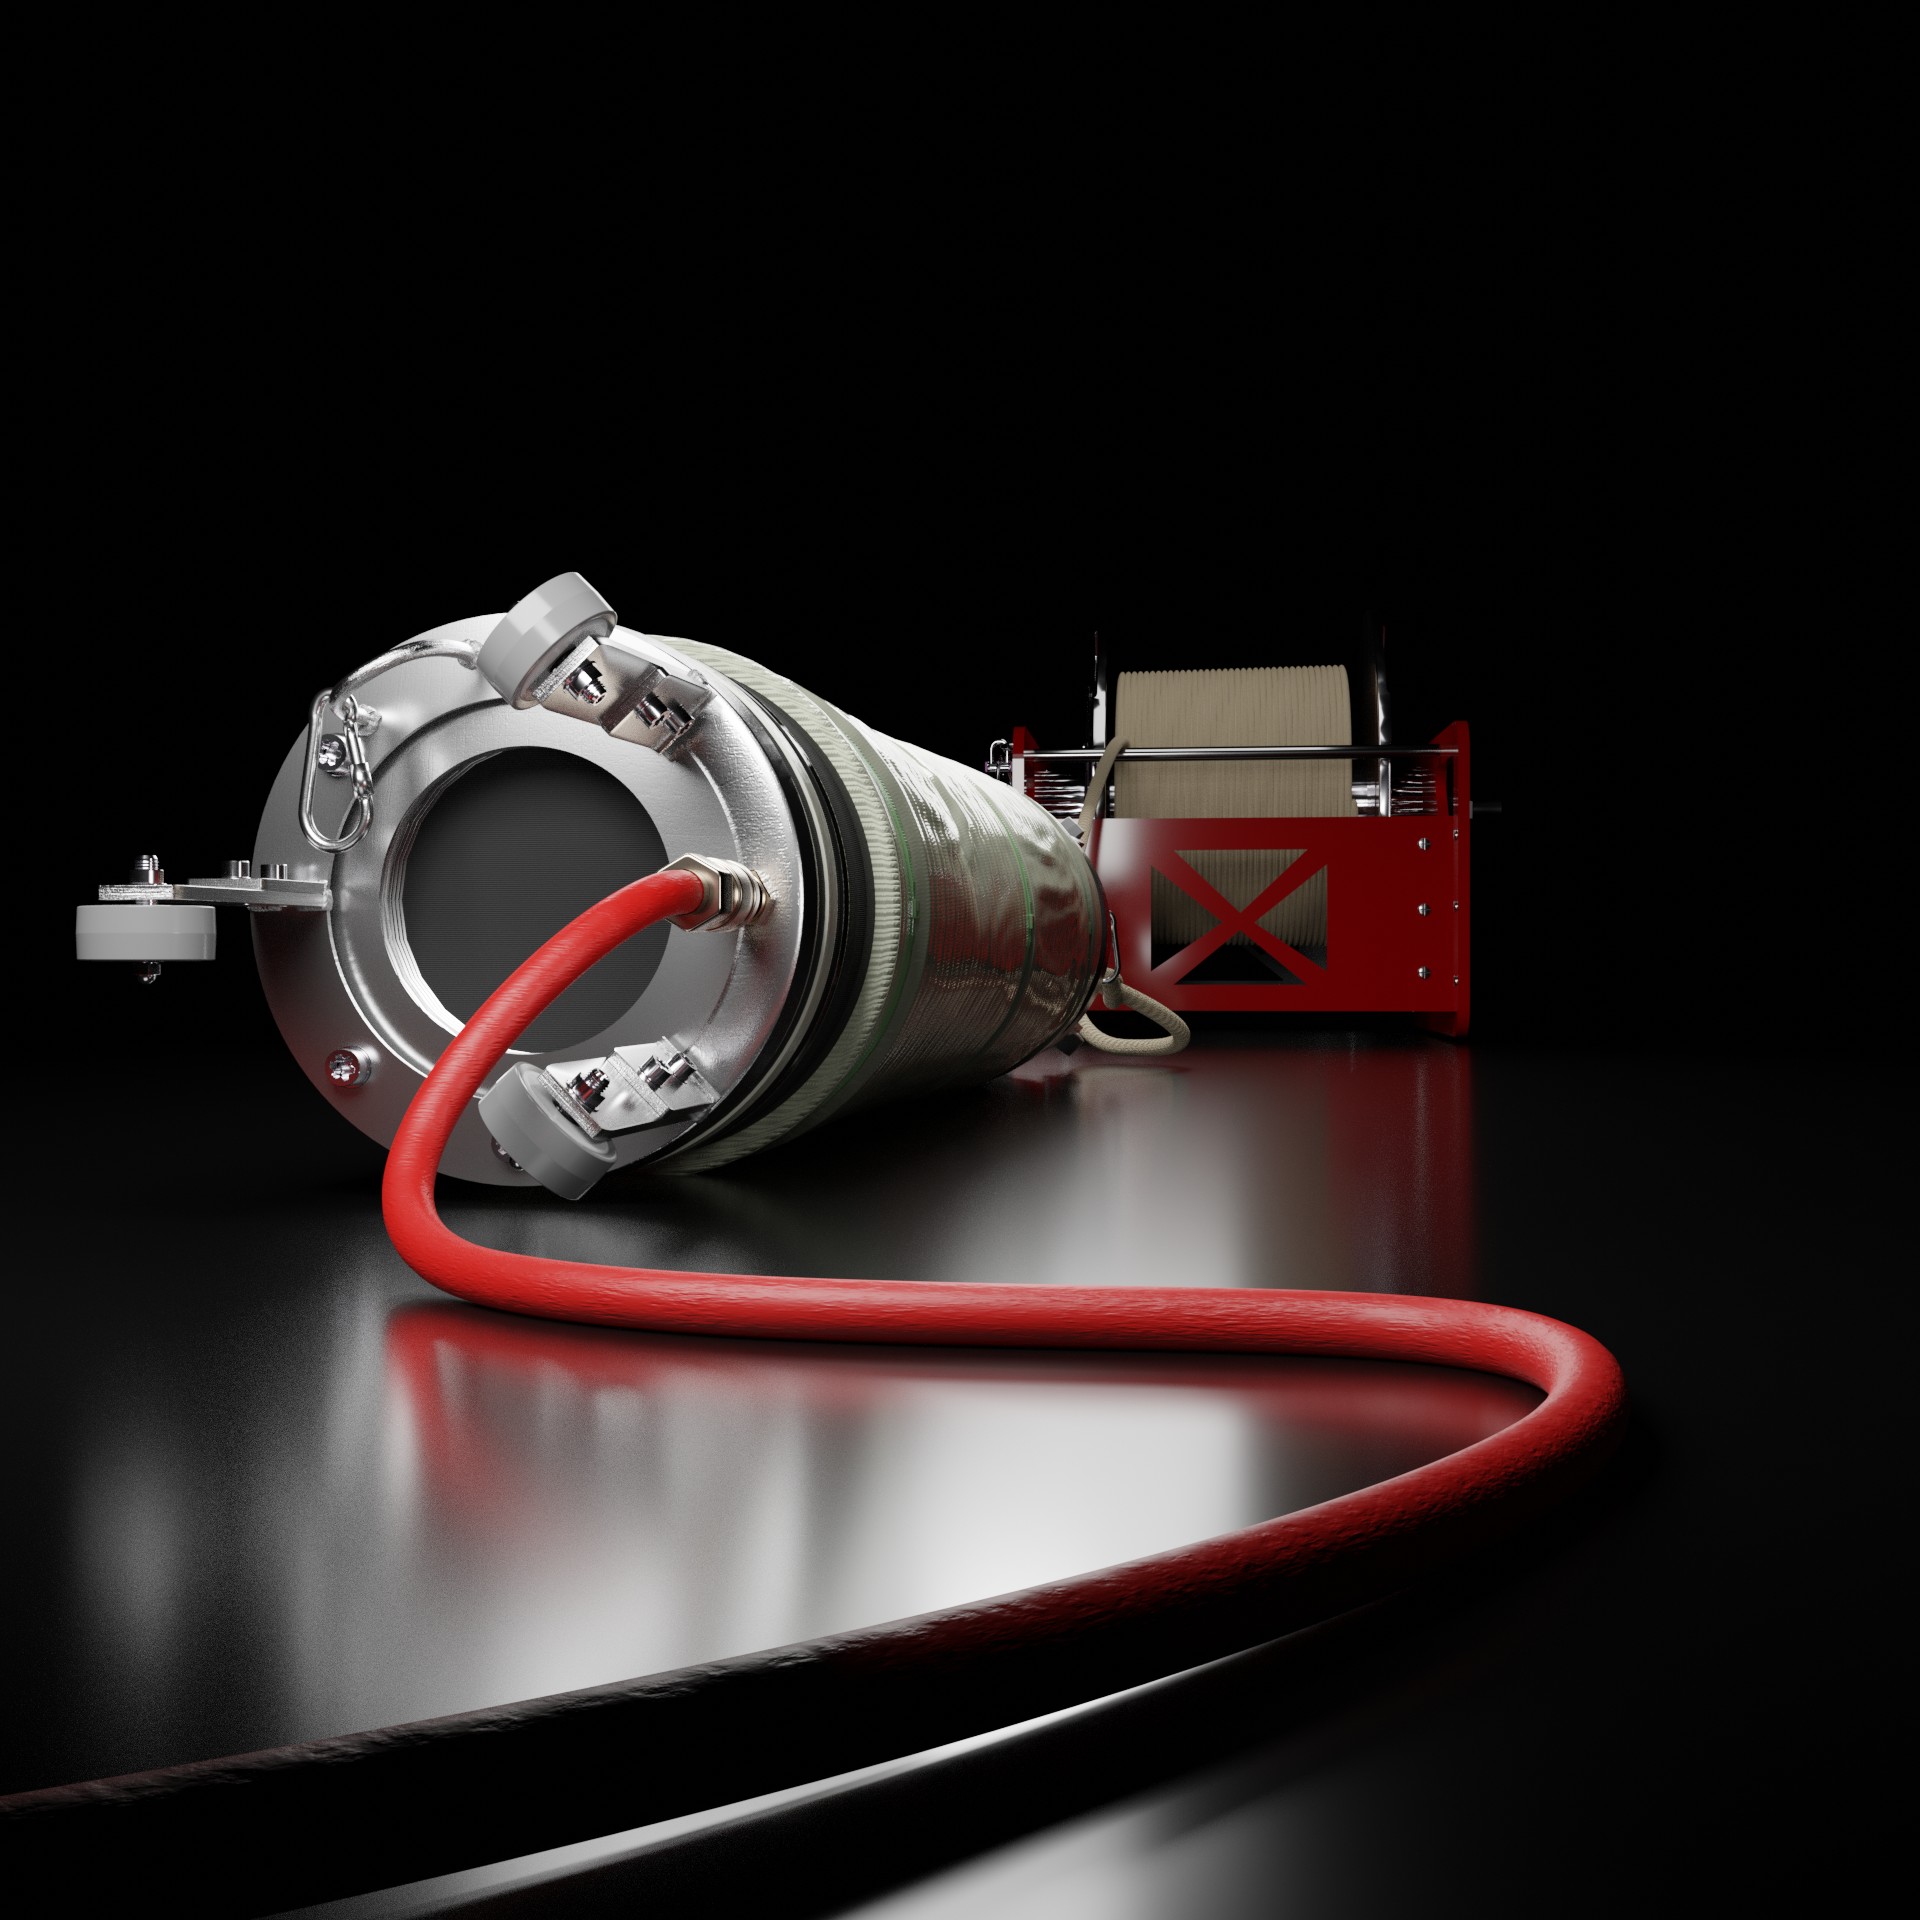
CONNECTING THE AIR ROD: Connect the flexible air push rod(s) directly to the installation bladder. Be sure to tape all connections to prevent accidental disconnection during installation. Lay the bladder and air push rod(s) flat and measure from the center of the bladder toward the connected air push rod(s) using the exact measurement from the camera inspection. Mark the air push rod at the exact measured location with a piece of tape.
BLADDER PREPARATION: Using the container supplied bladder release agent, lubricate the bladder from end to end. Slide the reinforced release sleeve over the lubricated bladder and secure at the leading edge only with the supplied heavy duty zip tie. Cut off any excess tie strap and tape over. Do not secure the release sleeve to the bladder or air push rod at the opposite end of the bladder where the air push rod is connected.
Each Kit Includes The Following:
- Two-Part Ready To Mix Resin Bag
- Bladder Protection Sleeve
- Fiberglass Mat
- Trowel
- Ground Protection
- Hand Protection Gloves
- Zip Ties
- Perma-Patch Instructions
- Complete Equipment Packages Also available
Installation Bladder, Hose Reels, Push Rods & more!
Simple Installation:
MIXING RESINS: Unfold the fiberglass mat and position the mat with the fiberglass side up and the felt side down, (shiny side is the fiberglass side). Mix the two-part 100% solids epoxy bag together. Mix until both components become a uniform color and consistency (approximately 2 minutes).
IMPREGNATING THE MAT: Pour up to 1/2 of the contents onto the fiberglass side of the mat. Using the spatula, spread the resin evenly and liberally to coat the entire surface. Flip over the entire mat to the felt side. Pour the remaining resin and spread evenly throughout the mat. When properly folded, the patch should be the specified ordered length with a 1″ overlap in the center.
LOADING THE BLADDER: Center the wetted mat on the protected bladder. Tightly roll the wetted mat around the protected bladder overlapping as you go. Secure the wetted mat to the protected bladder using zip ties provided. Position the zip ties evenly throughout the mat with two zip ties attached 1″ from the leading edge of the liner and one positioned 1″ from the end of the liner. Excess zip tie straps should be cut off and discarded. Introduce the bladder and Perma-Patch™ assembly into the host pipe to be repaired. Push or pull the packer into the pipe and position it at the point of repair as marked on the air push rod.
INFLATING THE BLADDER: Please note the bladder should be calibrated regularly to determine proper inflation pressure. Place the bladder in a pipe cut to the same length as the bladder and inflate to determine full contract pressure and add 5psi. DO NOT over inflate the bladder; this may result in injury or property damage. Bladder inflation pressure may vary due to bladder condition.
REMOVING THE BLADDER: Leave the bladder in place under normal maintained pressure allowing 3 hours cure time. Deflate the bladder and remove using the attached air push rod. Inspect the Perma-Patch™ repair with a pipeline inspection camera and video the repaired area.

